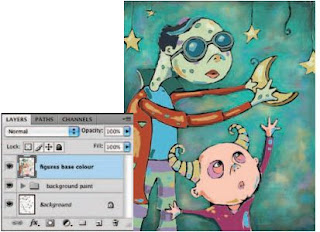
opacity of the brush to 100% and the
flow to 50%. Add this brush to the Tool Preset picker and name it “ base color, ” as we’ll be using it to create a flat, colored base for the figures and the stars. Use this brush to add flat color on the new layer in all empty regions of the figures and the stars. Choose colors from the background via the Eyedropper or select them from the Swatches palette. Increase or decrease the size of the brush tip as necessary.

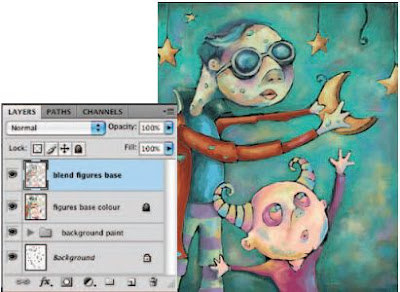
18 Create a new layer and select the Chalk Blender preset that you created earlier from the Tool Preset picker. As you did earlier with the background, blend the colors beneath this layer together with the Chalk Blender preset on your new layer. Hold down Alt(PC)/Option(Mac) to quickly sample colors from the canvas and then paint with your newly sampled colors in the appropriate areas until sharp areas of color begin to blend together on this layer. Feel free to alter brush size and opacity as required. Also, feel free to add new areas of color on this layer to indicate highlights and shadows.

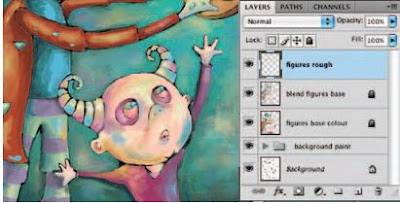
19 When you are finished adding colors and creating a blending effect on this layer, create a new layer and target it in the Layers palette. Select your Spatter Brush preset from the Tool Preset picker. Now use the spatter brush to paint some light, yet rougher brush strokes over your recently blended areas on the new layer. Use colors sampled from the canvas or from the ever-growing amount of custom swatches in the Swatches palette. Vary the brush size and opacity as needed. You probably want to leave the flow setting fairly low so that the bristles remain pronounced in each stroke.

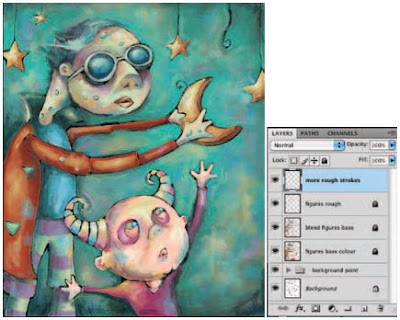
20 Now use your three custom brushes as well as your dual brush to really add a sense of roughness to the figures and the stars by painting with them on the current layer. Vary size, color, and opacity as needed. Also, if you feel like experimenting, yet are worried about making a mistake on your current layer, go ahead and create another layer to work on. This way, if you like the effect, you can keep the layer. If you don’t like it, you can always delete the layer or even reduce the opacity to lessen the effect.
No comments:
Post a Comment